Quick Links
Like many Nextcloud users, I love having office integration in my browser – but also, like many Nextcloud users getting Collabora Online Developer Edition (CODE) to work is a perpetual challenge.
When I first set up CODE a few years ago, I ran it on a separate server, and it worked most of the time. However, when upgrades rolled around, I was super stressed. I also lived through the CODE migration from loolwsd to coolwsd. I mostly had it working but didn’t feel confident in the stability.
Enter Collabora Online – Built-in CODE Server for Nextcloud Office. Again, that worked for a while, maybe a few months, until an upgrade was pushed out. It broke, and I fought with it off and on for weeks until I finally gave up.
Fast forward about six months, and here we are. This time around, I again opted for a stand-alone server to have more control over versions and upgrades without adversely affecting my Nextcloud install.
Getting Started
I spun up a small VM for my dedicated Collabora Online server. I opted for a $5 Linode, but didn’t bother with the backup add-on because this setup is simple, and it also doesn’t really retain critical data.
This next bit is extracted from the official Collabora Linux setup guide.
Import the Signing Key
CODE packages are digitally signed by Collabora Productivity Ltd. The first step is to import the signing key.
cd /usr/share/keyrings
sudo wget https://collaboraoffice.com/downloads/gpg/collaboraonline-release-keyring.gpg
Add CODE Package Repositories
Create /etc/apt/sources.list.d/collaboraonline.sources with the following contents:
Types: deb
URIs: https://www.collaboraoffice.com/repos/CollaboraOnline/CODE-debian11
Suites: ./
Signed-By: /usr/share/keyrings/collaboraonline-release-keyring.gpg
Install the CODE Packages
On deb-based distributions (Debian, Ubuntu), use the following command:
sudo apt update && sudo apt install coolwsd code-brandConfigure coolwsd
Use the convenience functions to set up the required settings in /etc/coolwsd/coolwsd.xml configuration file.
sudo coolconfig set ssl.enable false
sudo coolconfig set ssl.termination true
coolconfig set net.listen loopback
sudo coolconfig set storage.wopi.host your-collabora-server.example.com
sudo coolconfig set-admin-password
Collabora Online (coolwsd) service runs via systemd. After editing the configuration file, you have to restart the service:
sudo systemctl restart coolwsdInstall nginx and Add Let’s Encrypt SSL
I’m using nginx because it’s fast and lightweight. If you already have Apache installed you can find the Collabora Apache docs here.
Install nginx:
apt install nginx -yNext install Let’s Encrypt and set it up. It’s practical to set up SSL at this point because nginx installs a default page which will respond appropriately to the Let’s Encrypt challenge.
apt install certbot python3-certbot-nginx -y
sudo certbot --nginx --agree-tos --redirect --hsts --staple-ocsp --email $SSL_EMAIL -d your-collabora-server.example.com
Configure nginx Reverse Proxy
Create /etc/nginx/sites-available/collabora.conf with the following contents:
server {
  listen 443 ssl http2;
  server_name your-collabora-server.example.com;

  error_log /var/log/nginx/collabora.error;

  ssl_certificate /etc/letsencrypt/live/your-collabora-server.example.com/fullchain.pem;
  ssl_certificate_key /etc/letsencrypt/live/your-collabora-server.example.com/privkey.pem;

  # static files
  location ^~ /browser {
    proxy_pass http://localhost:9980;
    proxy_set_header Host $http_host;
  }

  # WOPI discovery URL
  location ^~ /hosting/discovery {
    proxy_pass http://localhost:9980;
    proxy_set_header Host $http_host;
  }

  # Capabilities
  location ^~ /hosting/capabilities {
    proxy_pass http://localhost:9980;
    proxy_set_header Host $http_host;
  }

  # main websocket
  location ~ ^/cool/(.*)/ws$ {
    proxy_pass http://localhost:9980;
    proxy_set_header Upgrade $http_upgrade;
    proxy_set_header Connection "Upgrade";
    proxy_set_header Host $http_host;
    proxy_read_timeout 36000s;
  }

  # download, presentation and image upload
  location ~ ^/(c|l)ool {
    proxy_pass http://localhost:9980;
    proxy_set_header Host $http_host;
  }

  # Admin Console websocket
  location ^~ /cool/adminws {
    proxy_pass http://localhost:9980;
    proxy_set_header Upgrade $http_upgrade;
    proxy_set_header Connection "Upgrade";
    proxy_set_header Host $http_host;
    proxy_read_timeout 36000s;
  }
}
Enable the collabora configuration. I also removed the default configuration because I had issues with it hijacking traffic destined for my proxy (YMMV):
ln -s /etc/nginx/sites-available/collabora.conf /etc/nginx/sites-enabled/collabora.conf
rm /etc/nginx/sites-enabled/default && rm /etc/nginx/sites-available/default
systemctl restart nginx
Verify We’re Up and Running
Check the services to make sure they’re running:
systemctl status coolwsd
systemctl status nginx
Hit the Collabora Admin Console in the browser. You’ll be prompted for the admin user and password you set up during the coolwsd configuration step:
https://your-collabora-server.example.com/browser/dist/admin/admin.htmlTying Everything Together
In your your Nextcloud dashboard, go to the Apps page (https://your-collabora-server.example.com/settings/apps).
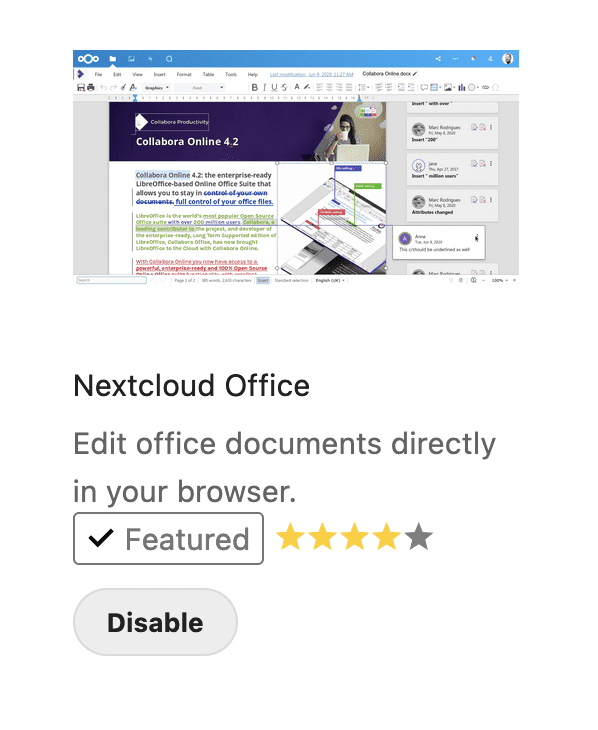
Under Office & Text section, find the Nextcloud Office app, and click Download and Enable button.

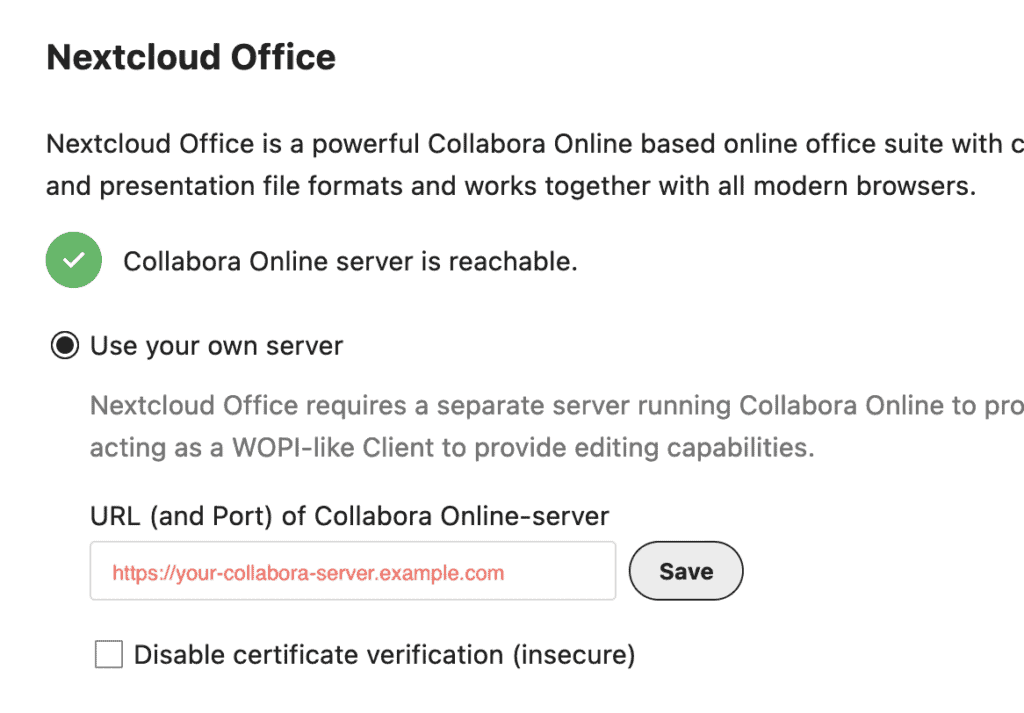
After you enable Nextcloud Office, go to Nextcloud Settings -> Administration. Click the Nextcloud Office tab on the left sidebar menu.
Select Use your own server and enter the domain name of your Collabora Online server we just configured, including https:// prefix, then click Save button.

If you need compatibility with Microsoft Office, you can enable OOXML as the default format in the advanced settings section.

Grab the Script
If you just want to just get up and running fast, you can grab the script from my GitLab repo: collabora-server-setup.sh
Useful Commands
Commands for managing coolwsd:
systemctl start coolwsd
systemctl stop coolwsd
systemctl restart coolwsd
systemctl status coolwsd
Check the coolwsd journal:
sudo journalctl -eu coolwsd


